GUIDE 04 · INSTALLATION · 8 MIN READ
How to install motorized shades: drill and no-drill methods
Motorized shades sound like an electrician's job. They aren't. A standard install needs a drill, a pencil and 20–40 minutes per window; Tokblind's no-drill tension designs need neither screws nor tools. This walkthrough covers both routes, then the motor setup that makes the shade "smart."
Before you start
- Confirm your shade's mount type (inside or outside) matches the measurements you ordered with.
- Unbox and lay out: headrail, brackets, screws, remote, USB charging cable or power adapter, and the manual.
- Charge the motor fully before first use — a low battery complicates pairing.
- Have a drill, bits, level, pencil and ladder ready for the standard method.
Standard (drill) installation, step by step
- Mark bracket positions. Hold the headrail where it will sit and mark the bracket points with a pencil. Brackets typically go 2–4 inches in from each end; wider shades include one or two extra brackets — spread them evenly.
- Check for level. A bubble level across the marks matters more than measuring from the ceiling, which is often not level. On a level line, the shade lowers evenly and the motor strains less.
- Pilot and fix. Drill small pilot holes (into drywall, use anchors supplied with the shade; into wood trim, screws alone grip fine). Screw brackets to the line.
- Clip the headrail. Offer the motor end first, then click the opposite end into its bracket. It should sit firm with no rocking.
- Test travel. Run the shade down and up once with the remote. If it stops or binds, check bracket alignment before adjusting anything else.
No-drill installation, step by step
- Confirm frame depth. No-drill designs press tension mounts inside the frame — check the minimum depth on the product page (roughly 2 inches for most models in the no-drill collection).
- Assemble the tension brackets as shown in the manual: spring-loaded feet on rails that expand to grip the recess.
- Position and expand. Place the assembly in the frame top, expand it until it's snug — firm, not white-knuckle tight. Over-tensioning can bow the frame or jam the rail.
- Clip the headrail and test travel exactly as with the standard method.
Renter's note: no-drill mounts leave no holes and remove cleanly — but confirm your lease's rules about window hardware regardless.
Motor, app & voice setup
- Pair the remote first — it's a 10-second job per the manual and gives you a fallback control.
- Set travel limits (top and bottom stop positions) exactly as described in the manual. Precise limits are what make scheduled scenes look tidy.
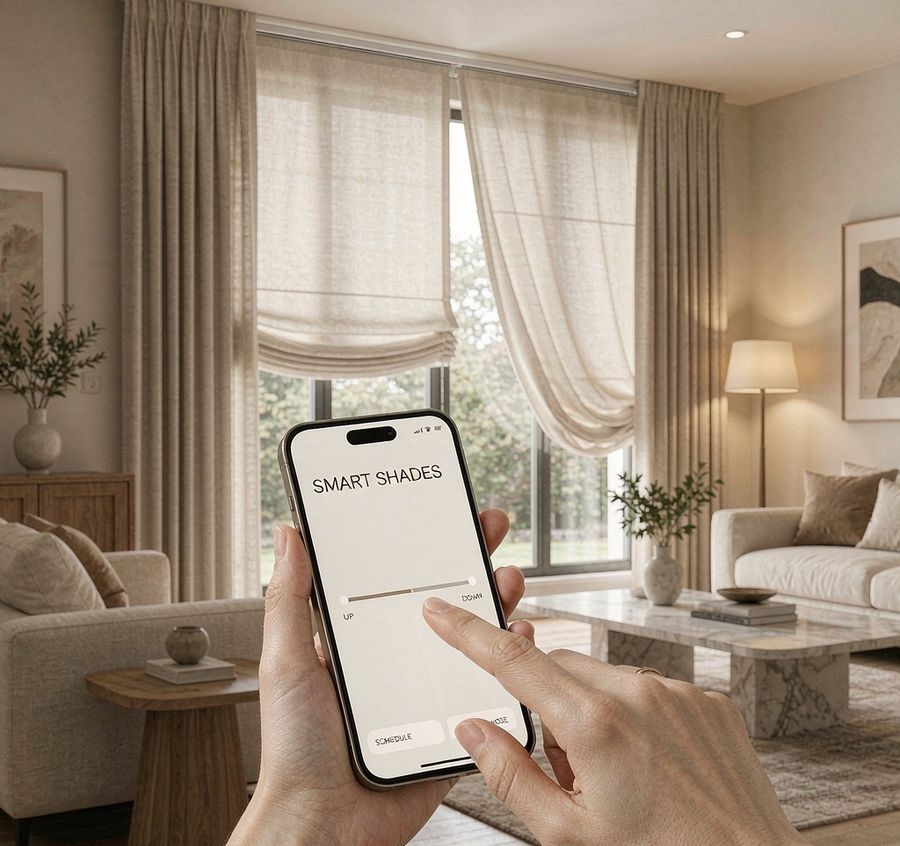
- Connect the app and add the shade as a device, then create your first schedules: morning open in bedrooms, late-afternoon close on west-facing glass.
- Link Alexa or Google Home via the app's skill/works-with flow, then group shades into rooms — "close the living room shades" only works as a phrase if the grouping exists.
- Charge cadence: battery motors typically run months per charge; note the date, or plug in a solar panel if the window gets sun.
Five issues DIY installers hit first
- Shade lowers crooked — brackets aren't level; loosen, level, retighten.
- Won't respond to remote — battery/USB connection first, remote battery second, re-pair third, motor reset last.
- Stops mid-travel — travel limits set too conservatively; re-set top and bottom limits.
- Light gaps at the edges — that's an inside-mount geometry issue, not a fault; an outside mount with overlap fixes it (see the fabric guide).
- App finds no device — most shade motors pair directly to the vendor app, not your Wi-Fi hub; follow the app's exact sequence before blaming your router.
EDITOR'S PICK · RENTERS & FIRST-TIMERS
No-Drill Motorized Blackout Roller Shades
The shortest path from box to working shade: tension mounts, no screws, blackout fabric and full remote/app control. Ideal for rentals and recessed frames.
View the no-drill collection ↗ Affiliate link — we may earn a commission at no extra cost to you.Installation FAQ
How long does it take to install a motorized shade?
Plan 20–40 minutes per window for a standard drilled install and 5–15 minutes for a no-drill design once you've done one. Most of the time goes into precise bracket placement.
Can renters install motorized shades without drilling?
Yes — no-drill tension mounts grip inside the frame without screws or damage. Confirm the minimum frame depth on the product page first.
Why is my motorized shade not responding to the remote?
Check motor power, then remote battery, then re-pair following the manual, then reset the motor. Beeps without movement usually mean travel limits need re-setting.